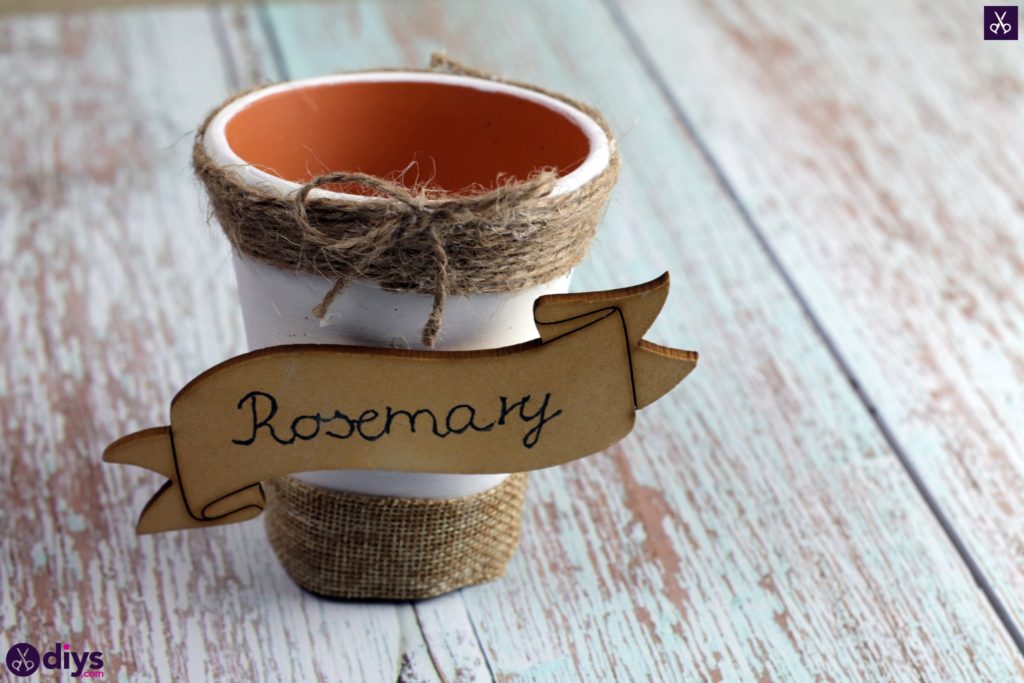
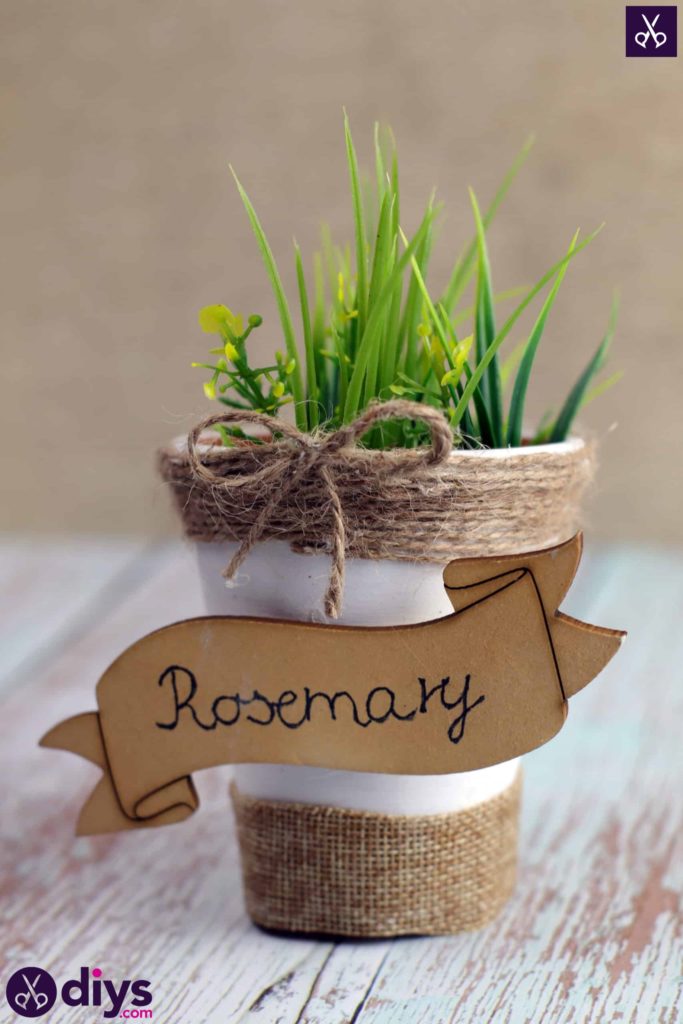
DIY Rustic Terra Cotta FlowerPot
If there's anything my household loves just as much as crafting, it's gardening and houseplants! I'grand actuallysucha green thumb that I've been looking for easy, cute means to introduce my kids to the idea of gardening and helping them grow something dainty and piece of cake of their own. That's why we started a simple herb garden together. Because nosotros're also such a crafty family, information technology only makes sense that we'd want to display our herb garden creatively somehow besides, right? Nosotros decided to paint and embellish some small terra cotta pots to constitute each herb in and proceed all together, and I opted to make mine a piddling bit rustic chic to go along with the rest of my kitchen decor!
I've e'er been a huge fan of crafting tutorials, so I'm sure it'll come equally no surprise that I wanted to render the favour and document my own crafting procedure so that other DIY enthusiasts might have some guidance if they decide to try their hand at it besides. Check out these stride by pace instructions complete with photos! If you'd rather follow along with a video tutorial instead of written words, scroll to the bottom of this post to find just what you're looking for.
For this projection, you'll demand:
- A terra cotta pot
- White pigment
- A paintbrush
- Jute twine
- Hot glue
- A black marker
- A wooden tag
Stride i:
Utilize your black marker to write the name of the herb you'll put in this pot on your wooden tag, then set it aside. You'll add it later like a dainty finishing impact!

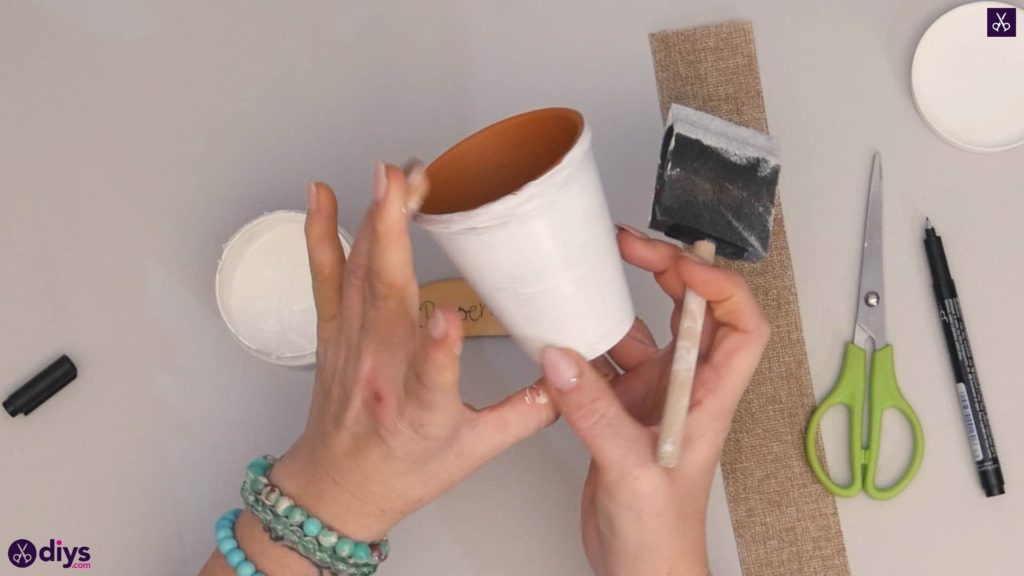
Step 2:
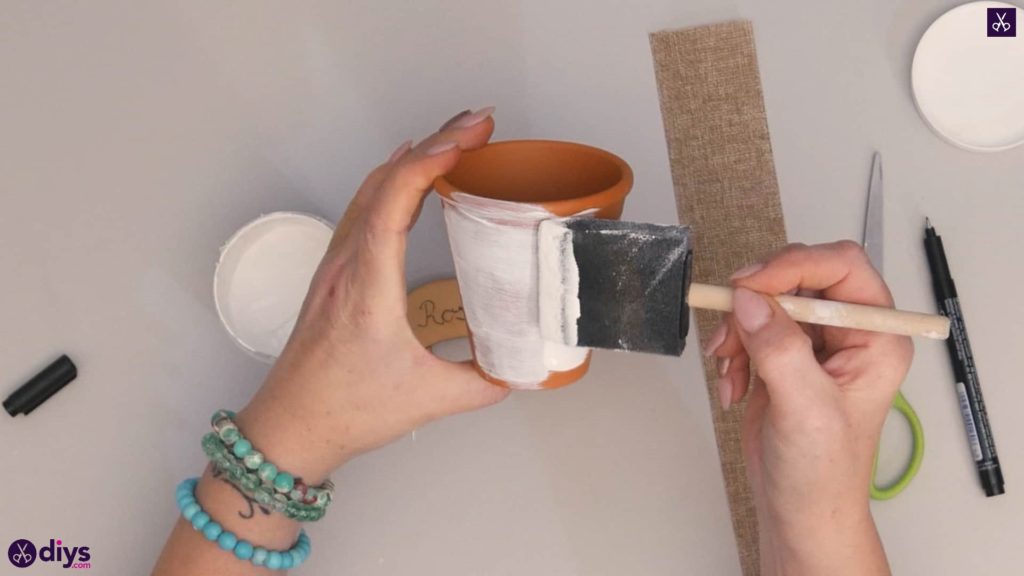
Utilize your paintbrush or sponge to paint the unabridged exterior of your terra cotta pot white! I painted from the very lesser edge correct up to the acme lip of the pot'southward opening. Feel complimentary to do more than ane glaze to really get opaque white coverage over the terra cotta's natural colour if you need to. Gear up it aside to dry.
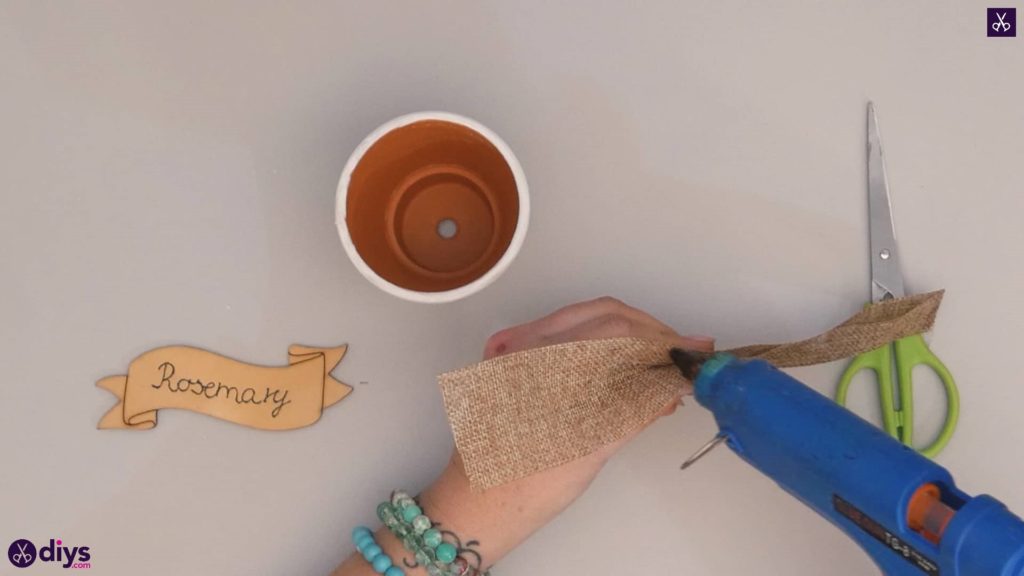
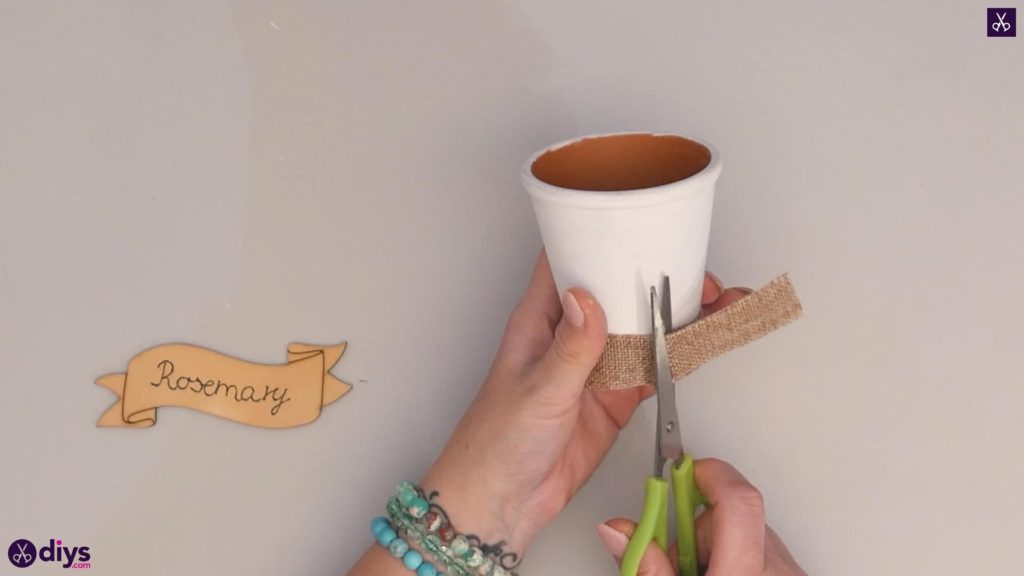
Pace 3:
Cut a trip of burlap that's a little longer than the circumference of your pot'due south lesser edge, then fold the piece in one-half width-wise so it maintains the aforementioned length but is half equally thick and twice as opaque, with its two long edges lined up perfectly. Utilize your glue gun to employ some glue inside that fold, making little dots downwardly its length, to stick the 2 halves together. Side by side, apply mucilage along 1 brusk edge of that strip and line it upwards horizontally with the lesser of the pot, and then the long border sits affluent against the bottom edge of the pot and the terminate with the glue can exist stuck downward vertically. Wrap the residual of the strip all the fashion around the pot until you get dorsum to where you started, and utilise some mucilage on top of the commencement edge, sticking the strip down at that place where the two run into to make an overlap. Use your pair of scissors to trim the excess and brand a new, neat finish. Where this seam is will be the back of your display.


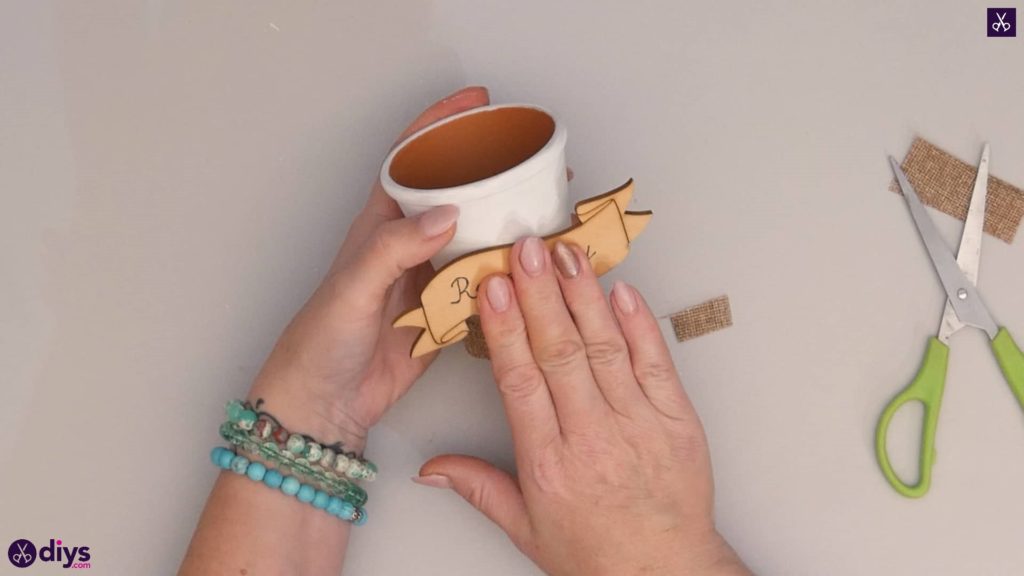
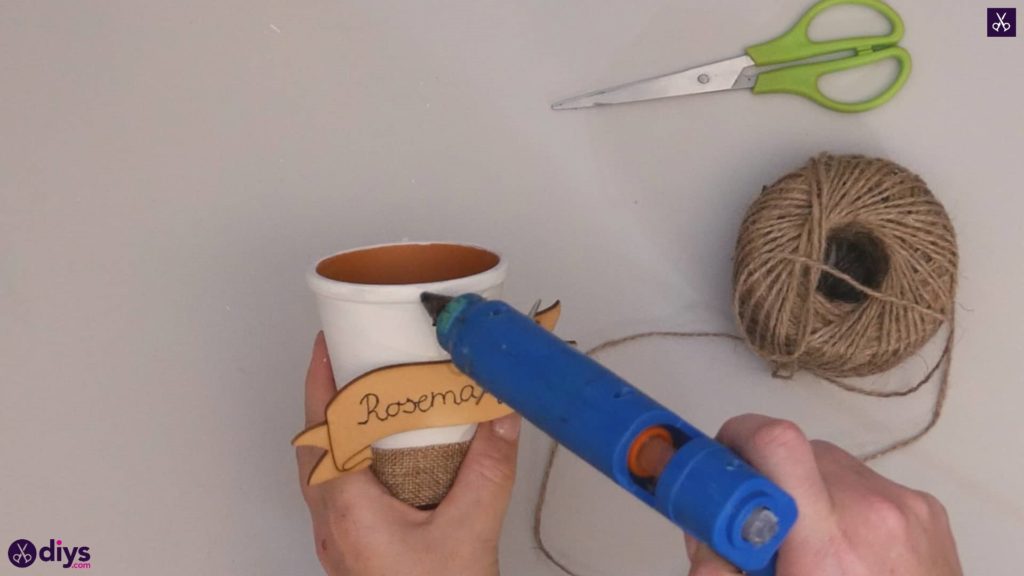
Step iv:
Apply some glue nigh one-half an inch above the edge of the burlap wrapping you but finished, on the front of the pot opposite to where you lot just glued the burlap ends downwardly at the dorsum. Position your wooden sign how you'd like and press the centre of its back downwards into the gum there. Now you'll always know which herb yous planted in that pot!
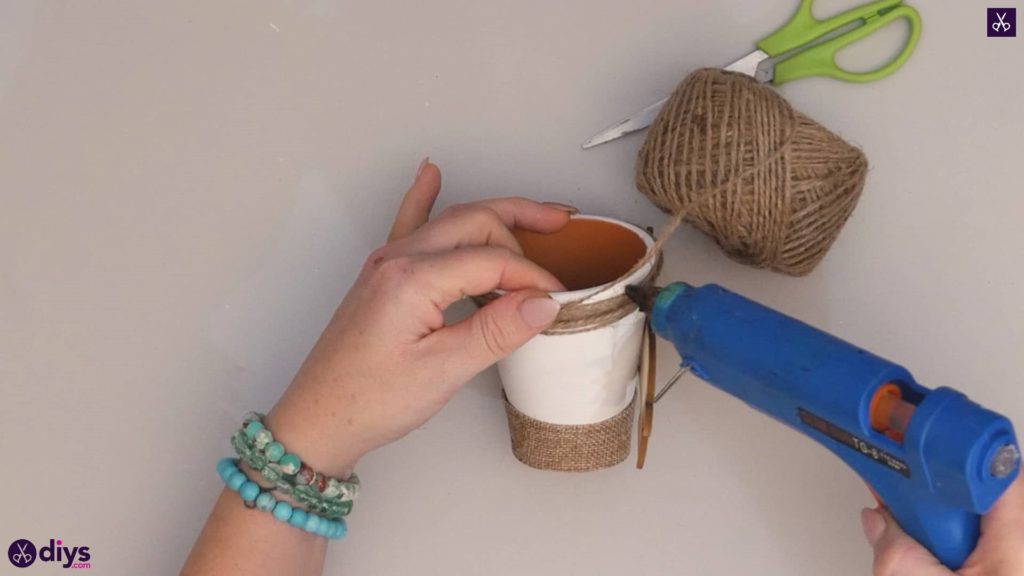
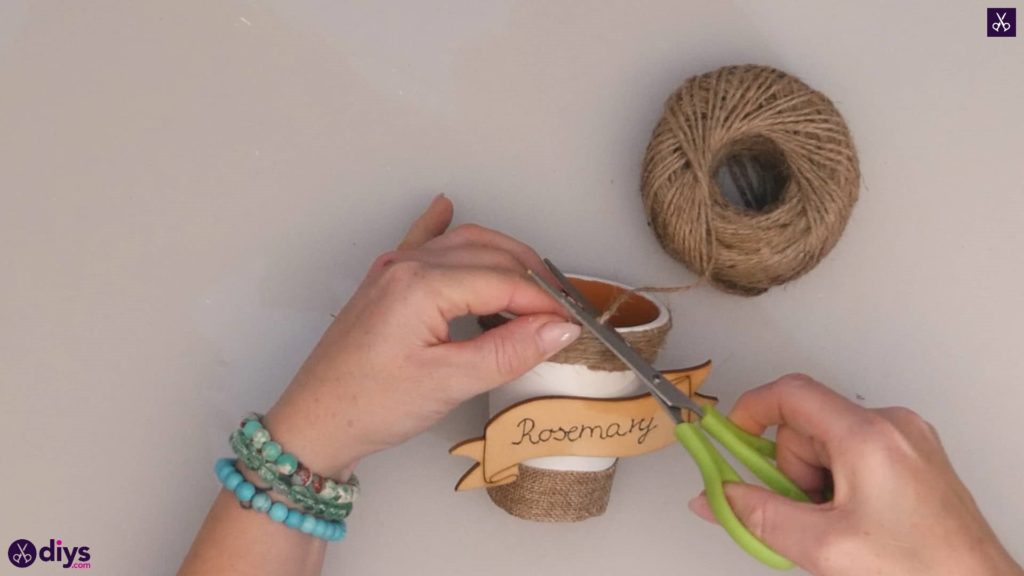
Step 5:
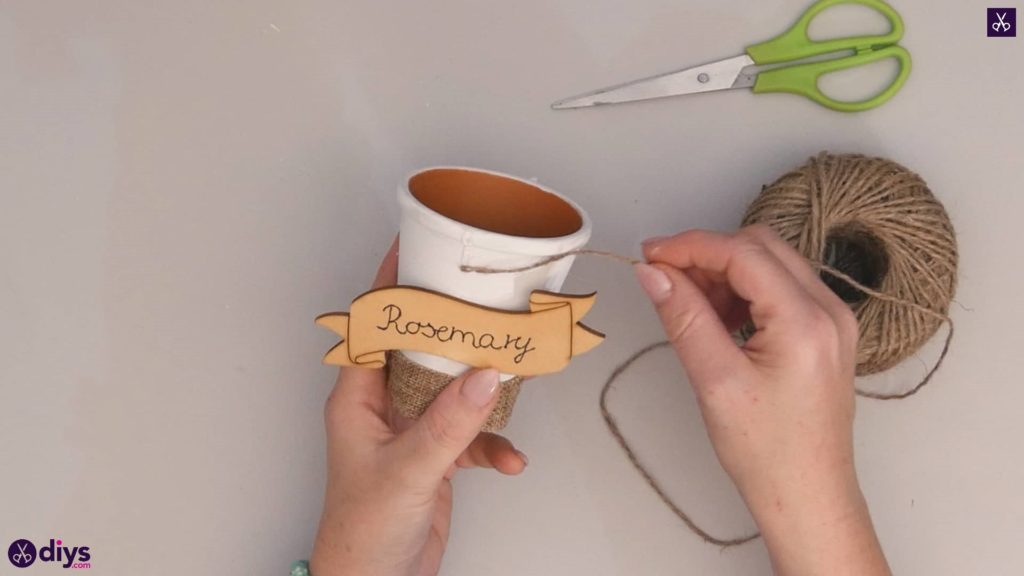
Practice some jute twine wrapping effectually the superlative of your terra cotta pot! Apply a small-scale line of gum virtually half an inch long from the top border of your pot downwardly and stick the terminate of your jute string down in the bottom of the gum line, positioned so you lot tin wrap the string around horizontally. Beginning wrapping and, when yous go back to where yous started, movement the cord upward a footling to keep spiralling around next to the get-go string yous laid down, and then the two prevarication confronting each other. Keeping wrapping and spiralling the string upwards towards the meridian edge similar this; your string volition pass through the lie of mucilage with each wrap, holding it in place well. When yous get to the pinnacle and there's no room to wrap anymore, carefully trim a new end. If you lot've finished in a place that isn't the height of the gum line you fabricated earlier, use your glue gun to stick the freshly trimmed tip downward neatly and discreetly.

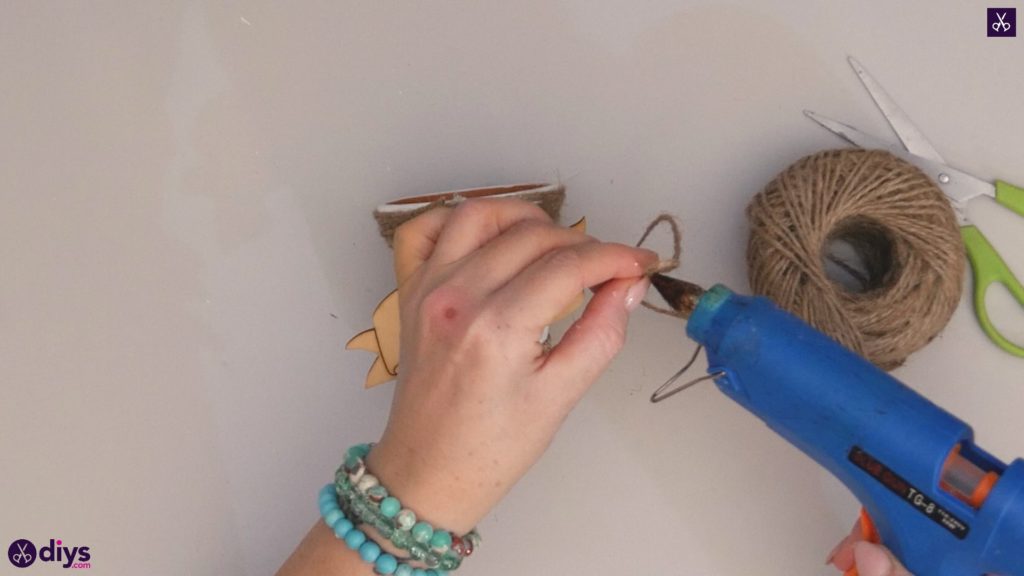
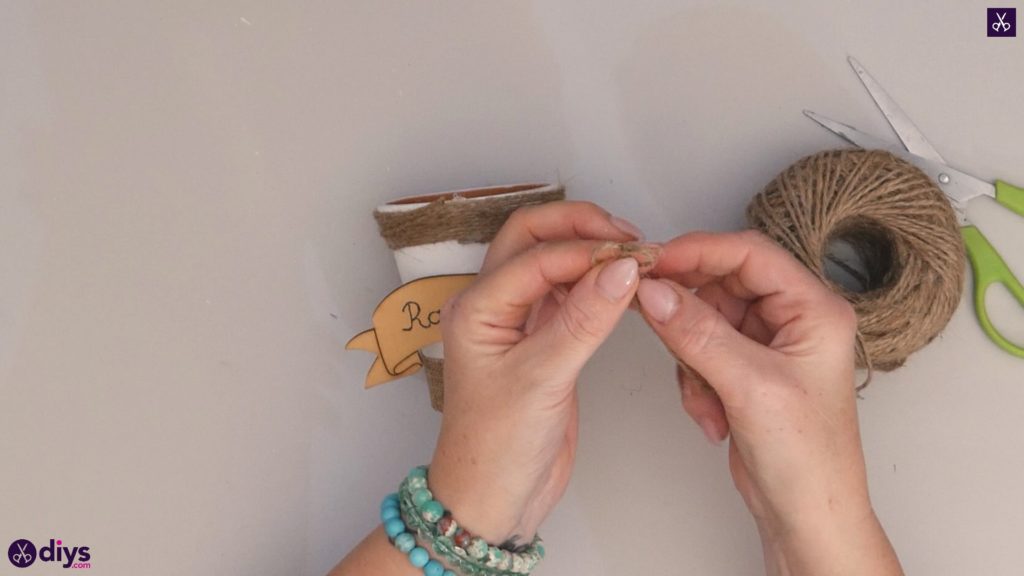
Step 6:
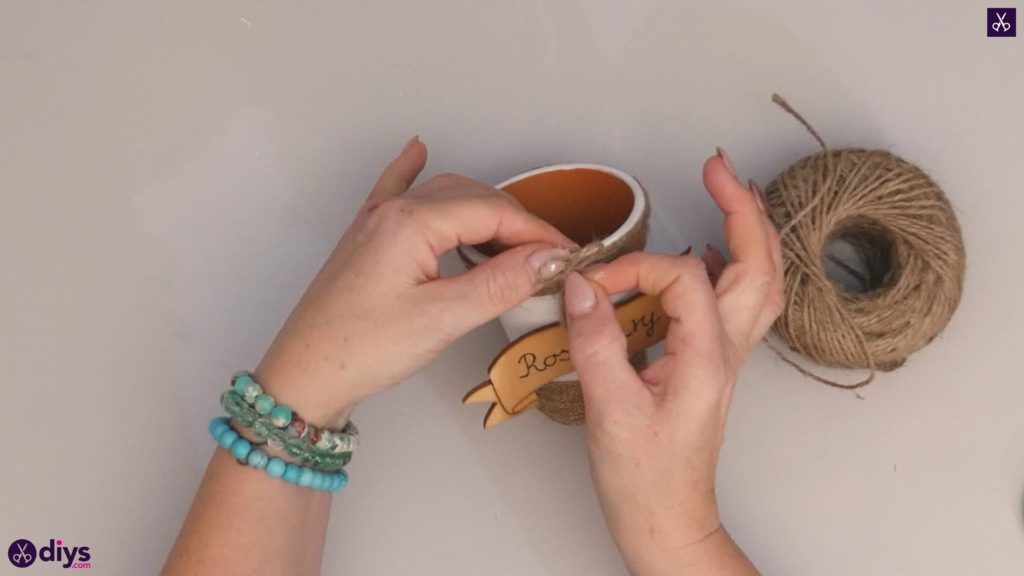
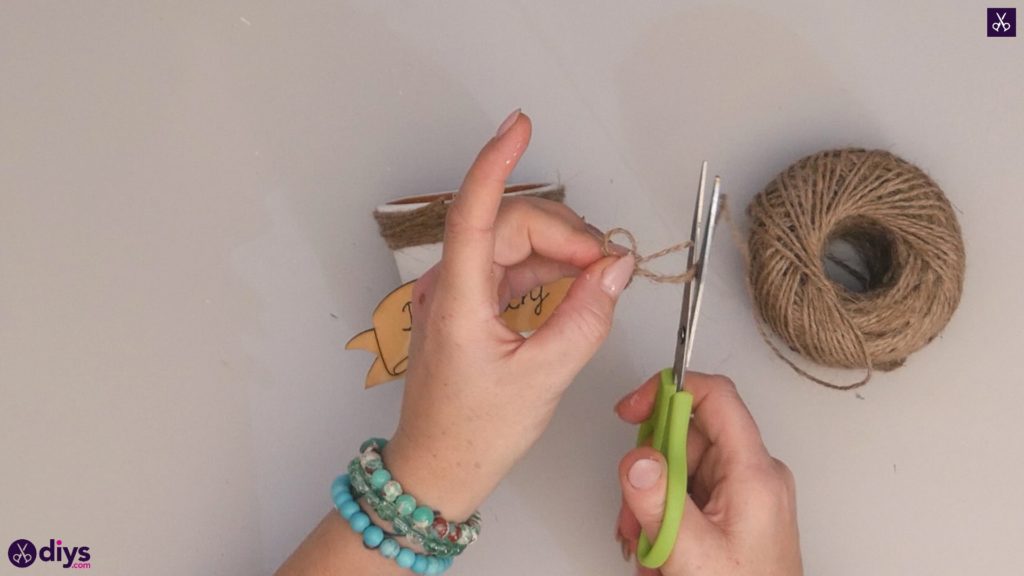
Make a little bow from your jute twine! Curl the end inward in a looped shape towards the balance of the string, letting a one-half inch of excess or so cross over itself when you brand your loop. Utilize a dot of hot glue where the two pieces cross to anchor the loop in place. And then curl a loop in and cross over that new eye indicate in the aforementioned way from the other side, applying another dot of gum to hold the 2d loop in place as well. Use your pair of scissors to trim the ends evenly. Now, turn your bow around and employ how gum to the heart of the back, then stick it downwards on the front end of the jute wrapping you just completed at the top of the pot, putting it right in the middle and so information technology looks like the ends of your wrapped strings have been tied there in a neat bow.
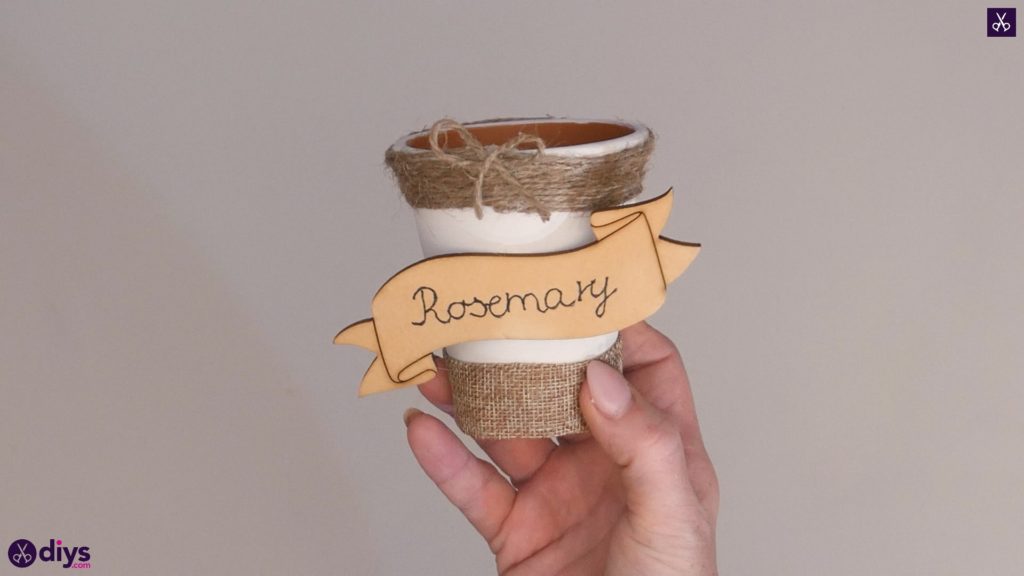
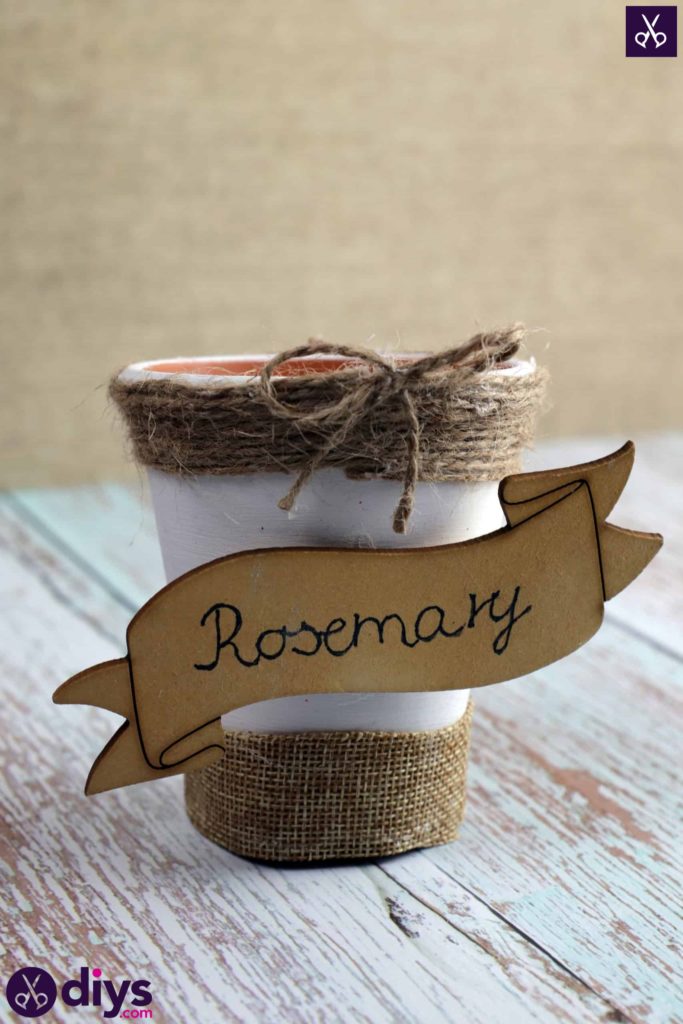
You're all finished! We made several of these little pots together, mine all rustic themed, and it's very fun to follow the aesthetic theme but change up the piddling details and elements. Just in example you'd like to try this project out for yourself, here's a fantastic tutorial video to aid you!
Source: https://www.diys.com/diy-rustic-terra-cotta-flowerpot/
0 Response to "DIY Rustic Terra Cotta FlowerPot"
Post a Comment